
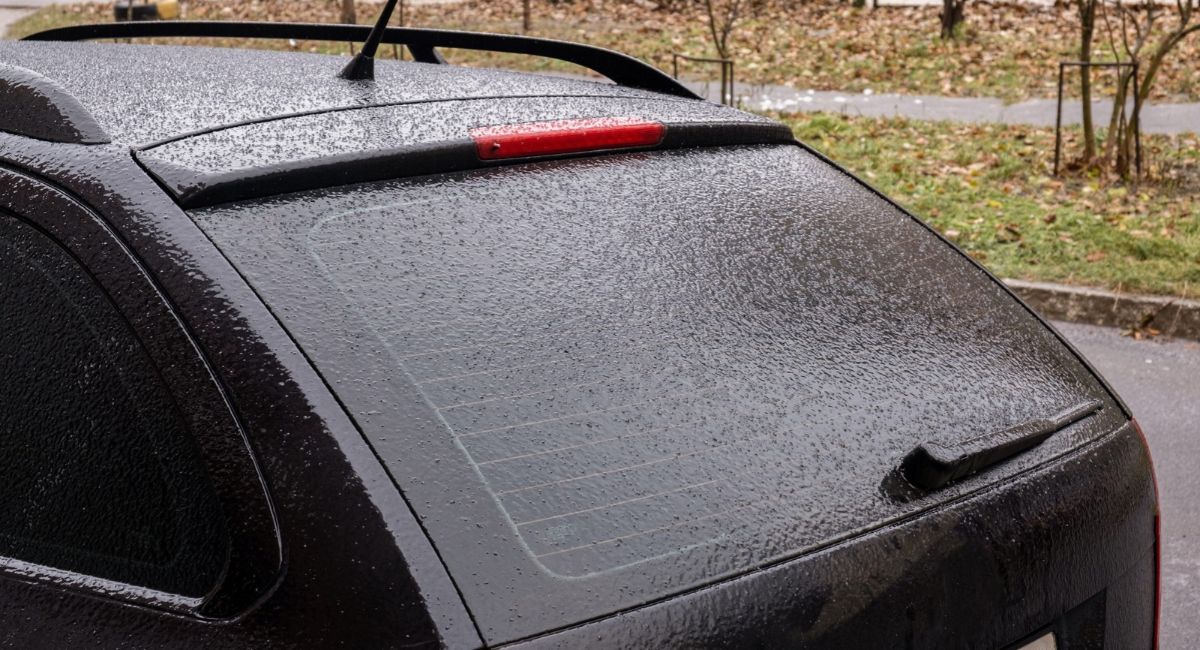
One damaged heating line can leave a perfectly good rear window covered in condensation. And somehow, a problem involving a tiny strip of conductive material can end with someone suggesting an entire glass replacement.
That’s a ridiculous place to start.
Most conventional rear window defrosters can be repaired when the problem involves a broken heating line or detached electrical terminal. Conductive repair paint, specialized adhesives, and a little electrical diagnosis can get the system working again.
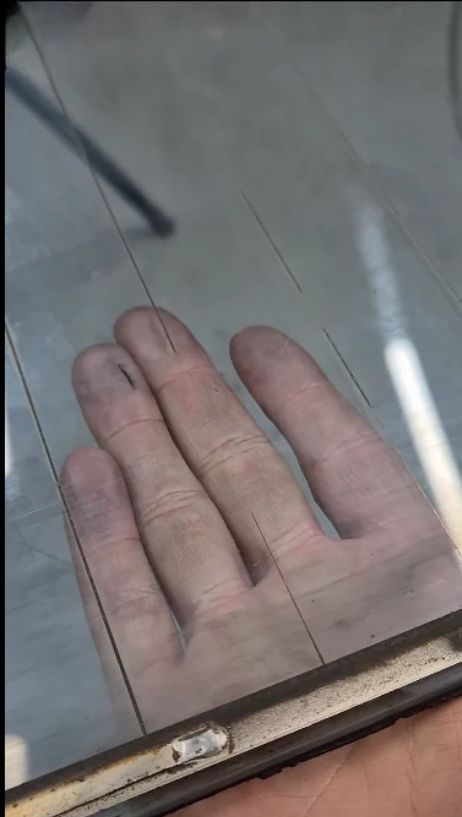
The heating elements are printed onto the inside surface of the glass. They’re thin, fragile, and vulnerable to scratches from cleaning tools, stickers, and window tint removal.
The hardest part of the repair is usually finding the damage. Once you’ve located the failure, the actual work can be surprisingly straightforward.
Your Rear Window Is Already Telling You What’s Wrong
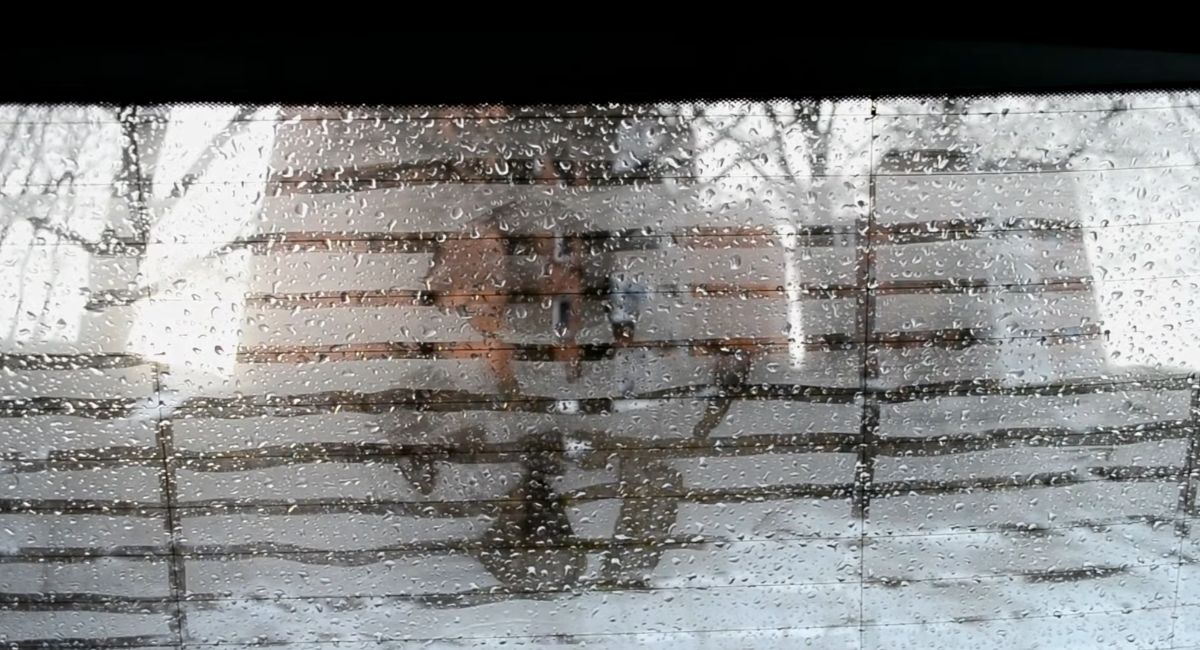
Turn on the defroster and watch how the window clears. Give it a few minutes under suitable conditions.
The pattern left behind often points toward the fault.
| What you’re seeing | Where to investigate |
|---|---|
| One horizontal strip stays fogged | A break in that heating element |
| Several strips fail to clear | Multiple damaged grid lines |
| The entire window remains fogged | Fuse, relay, wiring, ground, or power terminals |
| Heating works intermittently | Loose connections or damaged wiring |
| One section clears unusually slowly | Increased resistance or deteriorating conductive material |
Here’s another thing worth remembering: the illuminated defroster button proves very little. The switch can light up with a damaged heating grid or failed electrical connection.
A replacement window should be nowhere near your shopping list at this stage.
Before You Touch the Grid, Get a Multimeter
A digital multimeter is the best starting point for diagnosing an electrical failure.
Set it to measure DC voltage. With the defroster switched on and the ignition in the position required by the vehicle manufacturer, check for electrical supply at the rear window’s main connections.
On a typical 12-volt vehicle, you should find approximately battery voltage across the powered defroster circuit.
If voltage is absent, investigate the fuse, relay, wiring, and switching system. Check the owner’s manual for the correct fuse location and rating.
If voltage reaches the glass, concentrate on the heating elements.
A working line generally shows a gradual voltage change between its powered and grounded ends. Near the midpoint, a reading around half the supply voltage is common. A sudden voltage change along the line can reveal a break.
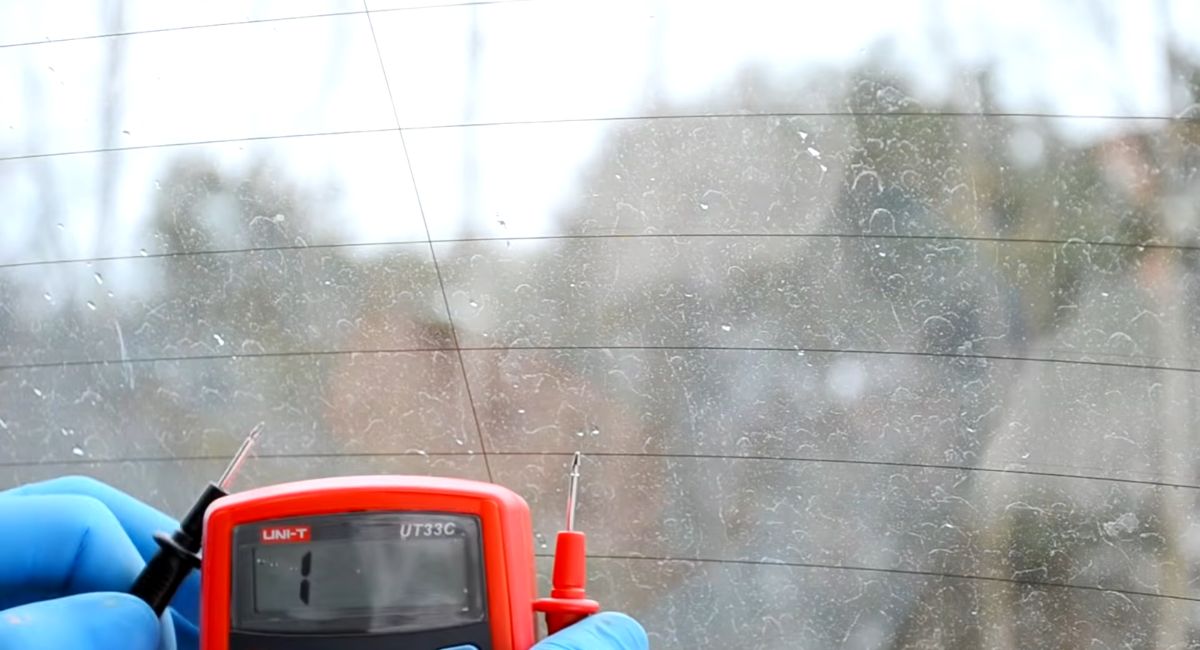
Use extreme care with the probes. A sharp metal tip can scrape away the conductive coating you’re trying to repair. A manufacturer-approved test probe or a small piece of aluminum foil wrapped around the probe tip can provide gentler contact.
Workshop rule: Never measure resistance or continuity on an energized circuit. Switch off the system before performing those tests.
MG Chemicals explains the process in its rear window defroster repair guide, including locating breaks with a multimeter and preparing the damaged area for repair.
Fixing a Broken Heating Line
A small gap in a grid line is an ideal candidate for a conductive repair kit.
A faulty rear window defroster doesn’t always mean the glass needs replacing. The following video from Torque Talk illustrates common troubleshooting steps, from checking electrical connections to repairing damaged heating lines with a conductive repair kit.
Products designed specifically for rear defrosters contain conductive compounds that restore the electrical path between the damaged ends. You’ll also need masking tape, suitable cleaning supplies, and decent lighting.
Work with the defroster switched off. Follow the vehicle manufacturer’s battery-disconnection precautions before applying the compound.
The Repair Procedure
- Locate the break. Inspect the faulty heating line closely. Look for scratches, missing sections, or discolored spots. Mark the damaged area with small pieces of tape placed nearby.
- Prepare the surface. Gently clean the repair area with the cleaning product recommended by the kit manufacturer. Remove grease and residue without scraping the printed grid. Allow the surface to dry completely.
- Mask the line. Position masking tape above and below the damaged section, following the original line’s width. Some repair kits include a stencil for this purpose.
- Apply the conductive compound. Follow the kit’s instructions for mixing, application, and coating thickness. Extend the compound slightly beyond each side of the break so it overlaps the intact conductor.
- Let it cure. Remove the masking material at the stage specified by the manufacturer. Wait for the compound to cure fully before testing the heating element.
The final step deserves particular attention.
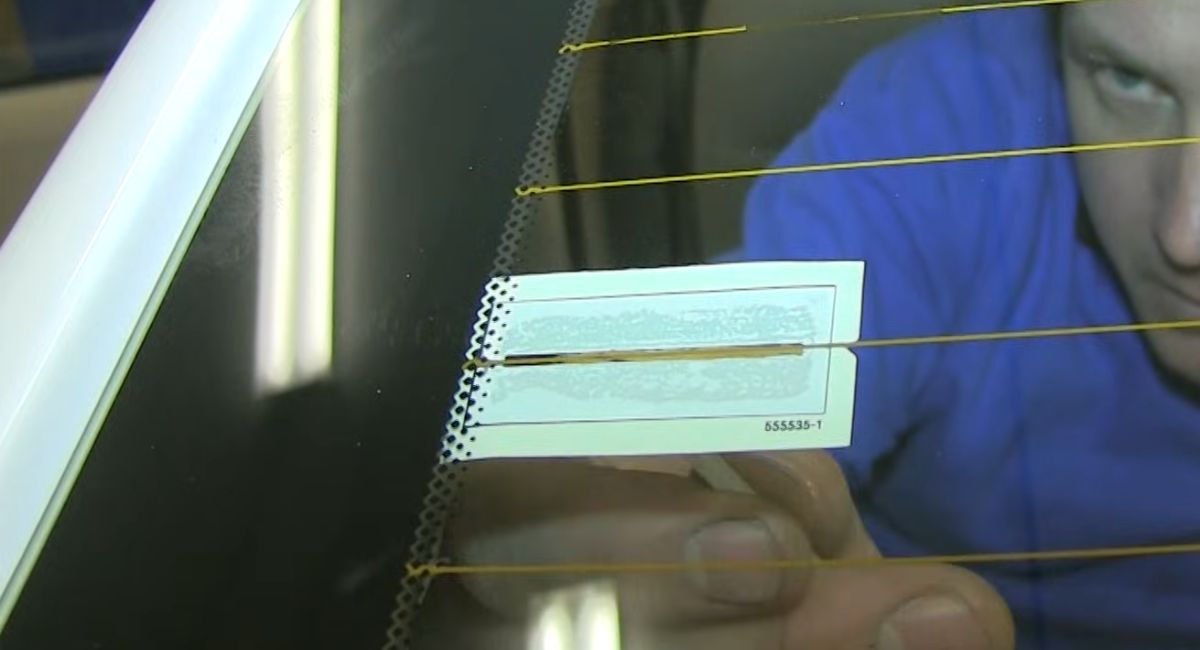
Conductive compounds have different curing requirements. Some require multiple coats, specific temperatures, or extended drying periods.
Turning on the defroster prematurely can compromise the repair.
Once the compound has cured, check electrical continuity with the system switched off. Then activate the defroster and observe whether the repaired line begins clearing the glass normally.
A successful repair should survive repeated heating cycles.
That Dangling Metal Tab Is Another Repairable Problem
Sometimes the heating lines are completely intact, and the failure sits at the edge of the glass.
Rear defrosters commonly use metal tabs connected to conductive strips along the sides of the heating grid. These terminals provide the electrical connection between the vehicle’s wiring and the window.
A detached tab can shut down the entire system.
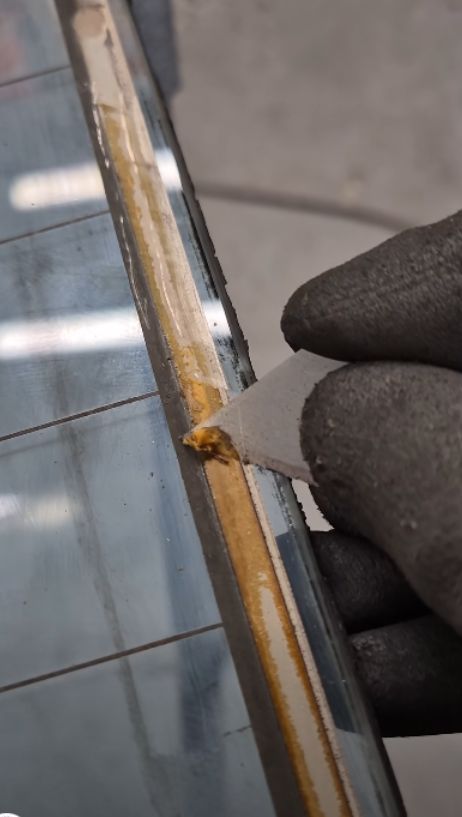
It’s tempting to grab a soldering iron and put the terminal back where it belongs. That’s a dangerous approach around tempered automotive glass. Concentrated heat can damage the printed conductor or cause the glass to crack.
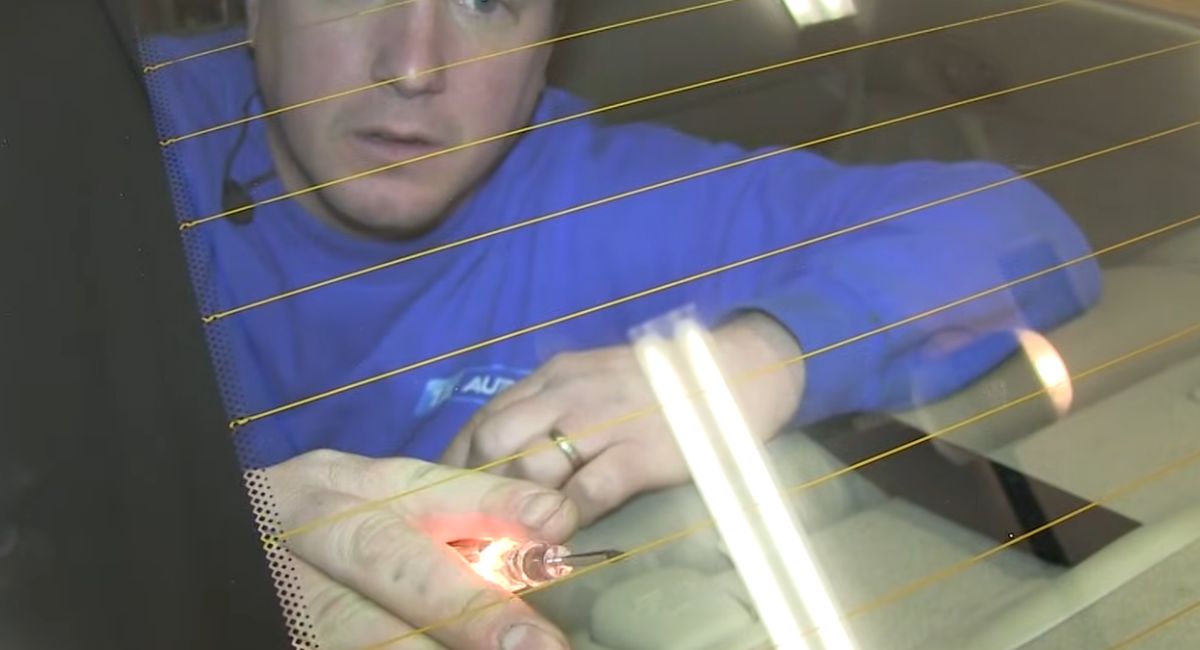
Use an electrically conductive tab adhesive designed for rear window defrosters.
Start by checking the original attachment area. The conductive material needs to remain sufficiently intact for the adhesive to establish a reliable connection.
Carefully disconnect the wire from the loose terminal and prepare both contact surfaces according to the adhesive instructions.
Apply the specified amount of adhesive, position the tab, and hold it securely for the required time.
For example, Permatex’s conductive tab adhesive requires repairs between 50°F and 75°F (10°C and 24°C), followed by 24 hours of curing before the wire is reconnected.
Leave that terminal alone while the adhesive cures. Pulling on it too early can undo the entire repair.
If a large portion of the conductive contact strip has separated from the glass, professional restoration may be necessary.
The Expensive Mistakes People Make
We’ve got a particular dislike for improvised repairs involving materials that were never designed for automotive electrical systems.
Ordinary glue has no useful role in restoring conductivity to a defroster circuit. Random metallic paint is equally questionable. Choose a repair product with an appropriate electrical rating and follow its instructions.
There’s also the matter of cleaning.
Metal scrapers, abrasive pads, and aggressive rubbing can permanently damage the grid. Removing adhesive window tint is another common source of trouble, particularly when old film pulls conductive material away from the glass.
Pay attention to temperature, too. Cold conditions can prevent some repair compounds from curing correctly.
And resist the urge to cover an entire heating line with conductive paint after finding one small break. A precise repair limits unnecessary changes to the grid’s electrical resistance.
When Should You Actually Replace the Rear Glass?
A heavily deteriorated grid can become uneconomical to restore. Extensive missing conductive material, multiple large damaged sections, and severe deterioration around the electrical contacts may justify replacement.
Cracked rear glass also requires professional assessment for structural safety.
For older vehicles, replacement heating-grid systems may offer another solution, depending on the type and condition of the glass.
The decision should follow a proper inspection of the grid and its electrical connections.
One Last Check Before Calling the Job Done
Once the repair has cured and the defroster is operating, watch the glass during normal use. Every functioning line should contribute to clearing the condensation.
Check that the repaired terminal remains secure and that the wiring hasn’t been stretched or damaged.
Going forward, clean the inside of the rear window with a soft microfiber cloth and avoid scraping across the heating elements.
Rearward visibility matters every time the weather turns cold or damp. A failed defroster deserves prompt attention.
Cold weather can reveal problems with the cabin heating system, too. If one side of the car stays cold while the other blows warm air, our guide to repairing a faulty heater flap explains what to check before replacing parts.
And here’s where we stand on the repair itself: any recommendation to replace an intact rear window before checking the defroster circuit deserves serious skepticism.
A multimeter, a careful inspection, and the correct repair material can resolve faults that initially look much more expensive.
Good automotive repair begins with finding the actual problem. A rear window defroster is an excellent reminder of why that principle matters.