
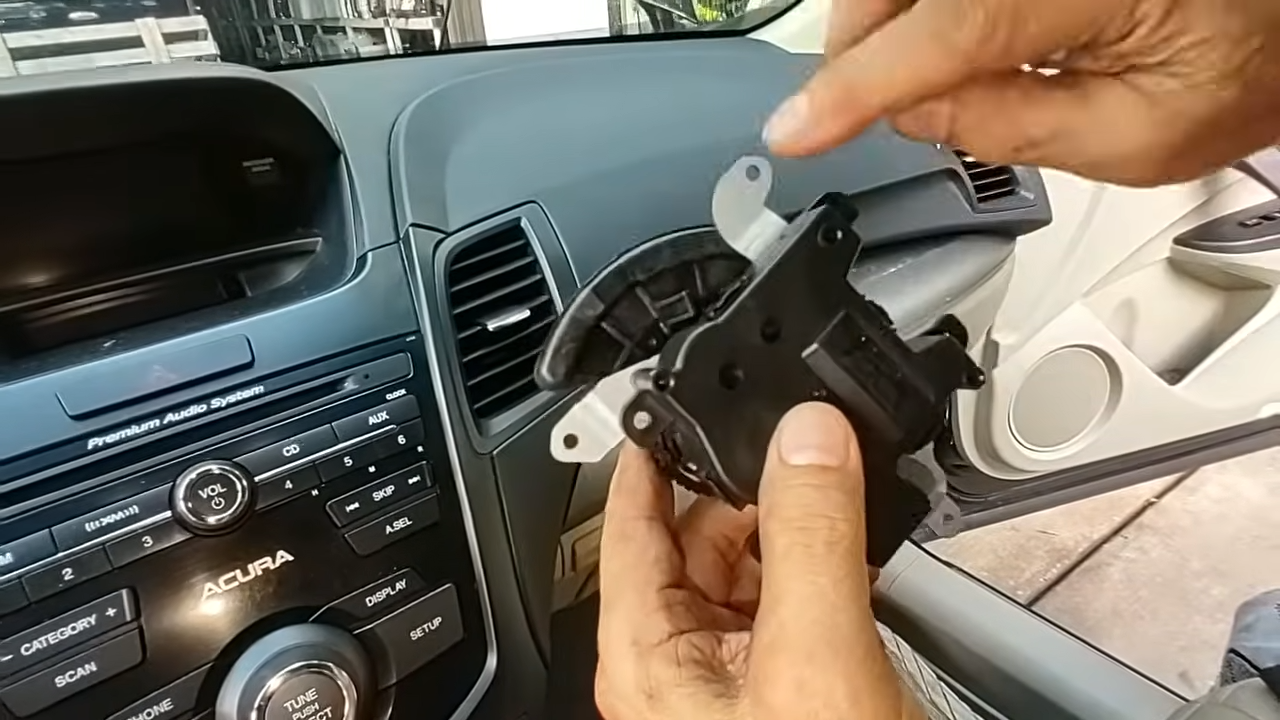
The engine is warm, the temperature is set to maximum, and the heater is blowing properly. Unfortunately, only the driver is enjoying it. The passenger gets a steady stream of cold air, regardless of what the climate controls say.
This is one of those irritating faults that makes a perfectly usable car miserable during winter. It can also send owners chasing expensive repairs when the actual problem is buried somewhere behind the dashboard.
A stuck heater flap, commonly called a blend door or temperature-mixing door, is a prime suspect. Its actuator may have failed, the linkage may have disconnected, or the flap itself may be damaged.
Finding out which component has failed is the important part. Replacing an actuator without checking the flap can leave you with exactly the same problem and a smaller bank balance.
What’s Happening Behind the Dashboard?
The heater core carries hot engine coolant through a small heat exchanger inside the HVAC housing. Air passing through the housing can be directed through or around that heated section.
A blend door regulates the proportion of heated air entering the cabin.
Many dual-zone climate systems have separate temperature doors for the driver and passenger. This allows one occupant to request warmer air independently of the other.
The doors are usually operated by small electric actuators containing gears and a motor. Some older vehicles use mechanical cables or vacuum-operated mechanisms.
The following video from TRQ Auto Parts explains how a blend door actuator controls cabin temperature and what happens when it stops working.
Several things can go wrong:
- Stripped actuator gears: The motor runs, producing clicking noises, while the door barely moves.
- Failed actuator motor: The temperature door stops responding to commands.
- Broken linkage or shaft: The actuator moves, but the flap remains stationary.
- Jammed or damaged flap: The door cannot complete its intended travel.
- Lost calibration: The climate control module has incorrect information about the door’s position.
The symptoms can overlap. Proper diagnosis starts with observing how the system behaves.
Confirm the Fault Before Buying Anything
Start the engine, allow it to reach normal operating temperature, and set both climate zones to maximum heat. Select the dashboard vents and use a medium blower speed.
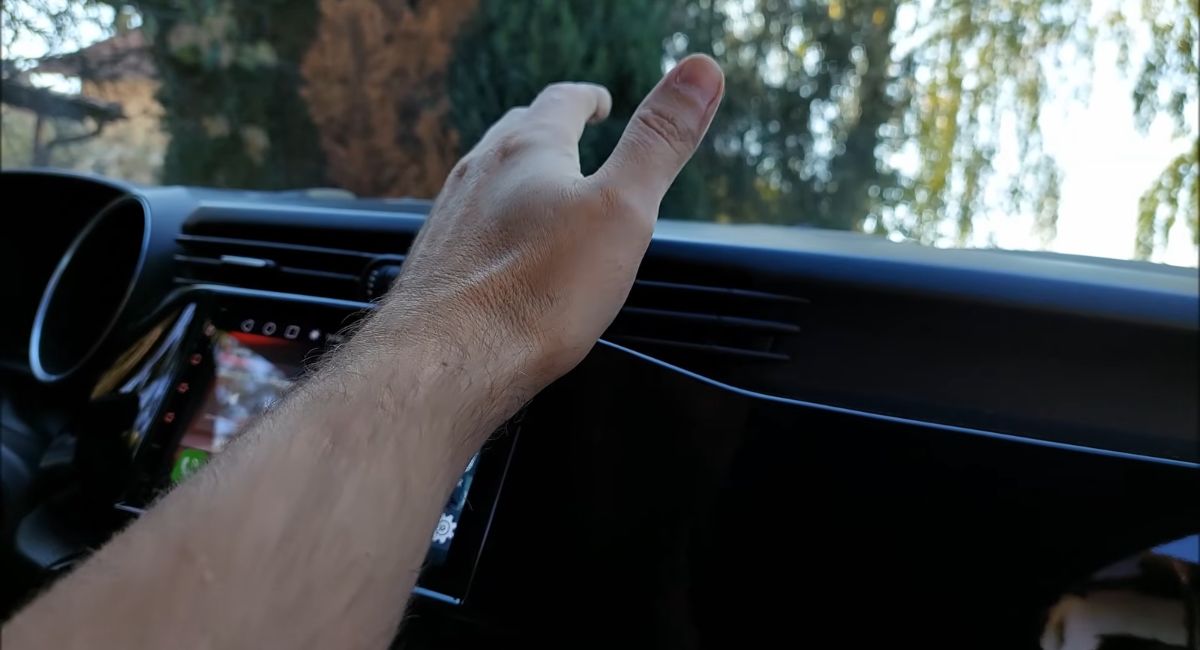
Measure the air temperature at the driver-side and passenger-side vents. A basic digital thermometer is helpful.
Now move each temperature setting from maximum heat to maximum cooling, allowing the vent temperature to stabilize between changes.
Watch for three things: temperature response, unusual noises, and differences between the two sides.
| Symptom | Possible Cause | What to Check First |
|---|---|---|
| Clicking behind the dashboard | Worn actuator gears | Listen while changing the temperature setting. |
| One side blows cold air | Stuck blend door, faulty actuator, or restricted heater core | Compare vent temperatures on both sides. |
| Temperature setting has no effect | Failed actuator or climate control fault | Check actuator response and HVAC fault codes. |
| Both sides produce weak heat | Low coolant, poor circulation, or heater core restriction | Check coolant level with the engine cold. |
These symptoms indicate possible faults, not confirmed diagnoses. Always check the heating system before replacing components.
These symptoms indicate possible faults, not confirmed diagnoses. Always check the heating system before replacing components.
A passenger vent that remains cold while the driver’s temperature changes normally strongly suggests a problem affecting the passenger-side heating circuit or temperature door.
However, a partially restricted heater core can produce the same symptom. GM documented exactly this problem in a service bulletin on uneven cabin heating, which also identifies disconnected temperature-door linkages as another possible cause.
Before dismantling anything, check the coolant level with the engine completely cold and confirm normal engine warm-up.
The ALLDATA heater diagnosis guide also recommends comparing heater-core inlet and outlet hose temperatures. A major temperature difference can indicate restricted coolant flow. Hose temperatures require careful interpretation because engine speed, heater demand, and system design affect the readings.
Use an appropriate thermometer and avoid hot hoses or moving engine components.
If coolant circulation appears healthy, the blower works normally, and one temperature control fails to respond, it’s time to investigate the flap mechanism.
The Clicking Noise Is a Useful Clue
Turn the ignition on and change the affected temperature control slowly between its extremes.
Listen around the glovebox, lower dashboard, and center console.
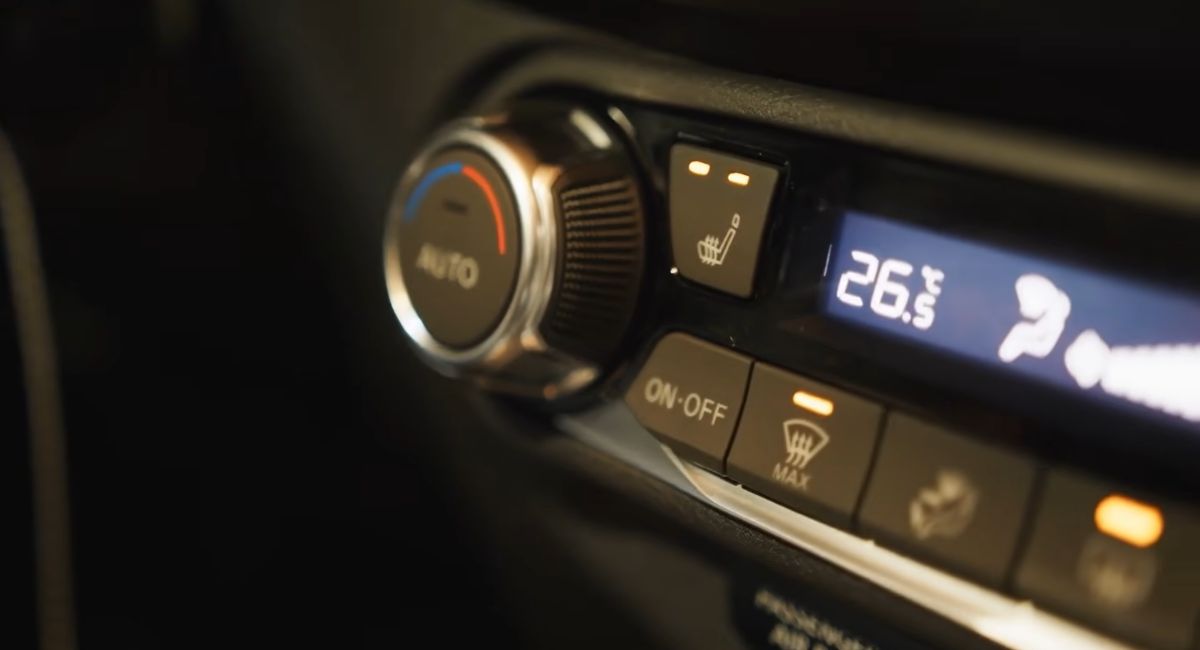
A rapid click-click-click often indicates an actuator gear skipping teeth. A grinding sound may suggest mechanical resistance.
A completely silent actuator could have a failed motor, disconnected wiring, a control fault, or no movement command.
If the vehicle supports HVAC diagnostics, scan the climate control module for stored actuator faults. An appropriate diagnostic tool may also command the actuator directly and display its position.
This can save a tremendous amount of dashboard disassembly.
How Difficult Is the Repair, and What Will It Cost?
DIY difficulty: 2/5 to 5/5, depending on access.
On some cars, the temperature actuator sits behind the glovebox, making replacement a manageable weekend job. On others, reaching the damaged mechanism requires dismantling much of the dashboard.
The biggest factor is accessibility. Here’s what to budget for the most common repairs.
| Repair | DIY Difficulty | Estimated Time | DIY Cost | Shop Cost |
|---|---|---|---|---|
| Diagnosis and basic testing | 1/5 – Easy | 15–45 minutes | $0–$30 | $75–$200 |
| Actuator recalibration | 2/5 – Easy | 10–30 minutes | $0 with supported manual procedure | $80–$180 |
| Accessible actuator replacement | 2/5 – Moderate | 1–2 hours | $25–$180 | $200–$400 |
| Deeply buried actuator replacement | 4/5 – Difficult | 3–6+ hours | $25–$250 | $450–$1,100+ |
| Broken internal flap or HVAC housing repair | 5/5 – Very difficult | 6–12+ hours | $50–$400+ | $700–$1,800+ |
Approximate US repair costs in USD, including typical parts and labor for professional repairs. These are planning ranges rather than vehicle-specific quotes. Taxes, diagnostic charges, and specialized tools may add to the total.
For perspective, RepairPal’s September 2026 estimate puts average professional blend-door actuator replacement at $452–$592, with labor accounting for most of the bill.
When Is This a DIY Job?
If you can reach the actuator by removing the glovebox or a lower trim panel, the repair is generally reasonable for someone comfortable with basic automotive maintenance.
Once the job involves airbags, dashboard crossmembers, refrigerant lines, or removal of the HVAC housing, professional assistance becomes the sensible option.
Check the manufacturer’s removal procedure before ordering parts. Knowing whether the actuator takes 30 minutes or six hours to reach can completely change your repair budget.
And get an itemized workshop quote. It should identify the failed component, estimated labor hours, replacement parts, and any required calibration. That makes it easier to spot an expensive repair based on guesswork.
Getting to the Heater Flap
Tools worth having nearby:
- Trim-removal tools and a small socket set
- Torx drivers or screwdrivers suited to the vehicle
- Flashlight and inspection mirror
- Digital multimeter, if electrical testing is necessary
- Replacement actuator or linkage, once the fault is confirmed
Actuator locations vary considerably. Some sit directly behind the glovebox and can be reached by removing a lower trim panel. Others are buried against the transmission tunnel or behind structural dashboard components.
Find the exact service procedure for your vehicle before removing panels. Wiring, airbags, and fragile plastic ducts can complicate an otherwise straightforward repair.
The video below from ARC Garage demonstrates how a one-side-hot, one-side-cold climate control problem can be investigated and repaired on an Alfa Romeo Giulietta without removing the entire dashboard. Access and repair procedures vary by vehicle.
Step 1: Remove the Necessary Trim
Switch off the ignition. Follow the manufacturer’s battery-disconnection and airbag precautions before working near protected components.
Remove the glovebox, footwell panel, or center-console trim specified by the service manual.
Keep screws organized and avoid pulling plastic clips at awkward angles.
Step 2: Identify the Correct Actuator
Several similar-looking motors may be attached to the HVAC housing.
Temperature, airflow direction, and recirculation functions can each have separate actuators.
Locate the temperature actuator for the affected side using the vehicle’s HVAC diagram.
Step 3: Inspect the Mechanism
Look for damaged connectors, loose actuator mounting screws, disconnected linkage, or cracked plastic around the door shaft.
If the actuator can safely be observed during operation, follow the manufacturer’s procedure for commanding temperature changes.
A moving actuator combined with a stationary door linkage points toward a mechanical problem.
Step 4: Remove the Actuator
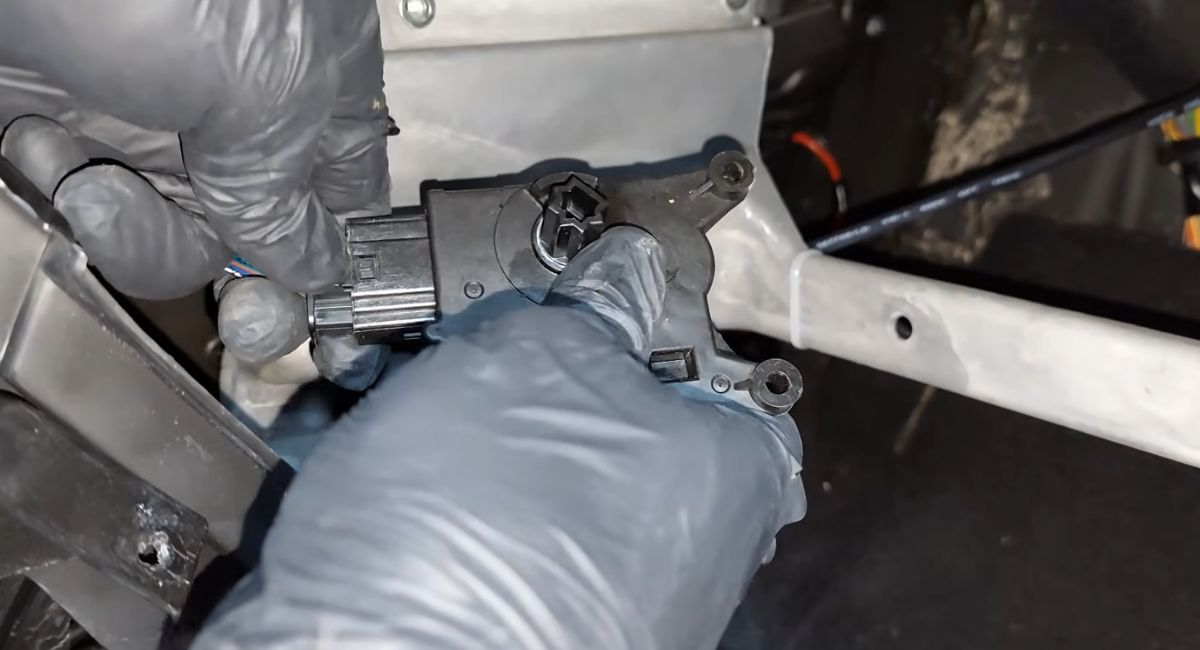
With the ignition off and the system made safe, disconnect the actuator connector and remove its retaining screws.
Pull the actuator away carefully. Inspect the drive coupling for rounded edges, cracks, or broken teeth.
Avoid twisting the door shaft aggressively.
Step 5: Check the Flap’s Movement
If the manufacturer permits manual movement, gently move the exposed door shaft through its designed range.
It should move without excessive resistance or grinding. Some resistance from seals is normal.
A seized, disconnected, or unusually loose shaft needs further investigation.
Never force a jammed flap. Breaking its internal pivot can turn a minor repair into a dashboard-out job.
Step 6: Repair the Confirmed Failure
Replace a faulty actuator with the correct part number and shaft configuration.
If the linkage is disconnected, examine its retaining clips and pivots. Replace damaged components and reconnect the mechanism according to the service procedure.
A broken door shaft or internal flap may require opening the HVAC housing.
Step 7: Calibrate the System
Some vehicles require an actuator relearn or HVAC calibration after replacement.
Procedures differ between manufacturers. Certain systems use a diagnostic scan tool; others have a specified control-panel sequence.
For example, an FCA blend-door repair bulletin specifies actuator calibration and repeated full-hot/full-cold testing.
Follow the correct procedure for your model. Random fuse-pulling and universal reset tricks are a poor substitute for service information.
What If the Flap Itself Is Broken?
This is where repair difficulty can increase considerably.
Some heater flaps develop cracked pivots, damaged hinges, or deteriorated foam seals. Missing sealing material may allow unwanted air mixing, leaving the vents lukewarm even when the actuator reaches its commanded position.
A borescope inserted through an appropriate access opening can sometimes reveal damaged foam or a broken flap.
Where the manufacturer provides an accessible repair route, the door or its sealing material may be replaceable without removing the entire dashboard.
Use automotive HVAC-compatible sealing materials and follow the specified repair method. Loose adhesive, improvised household foam, and poorly secured patches can deteriorate and obstruct the mechanism.
If the flap is inaccessible or its housing is damaged, the proper repair may involve removing and opening the heater box. That can require substantial dashboard disassembly.
Get a workshop estimate before committing to the work. The labor involved can easily dominate the repair cost.
Check the Repair Under Real Conditions
Once everything is reassembled, warm the engine fully and test the climate system again.
Cycle both temperature controls independently. Check maximum heating, maximum cooling, dashboard vents, footwell vents, and windshield defrosting.
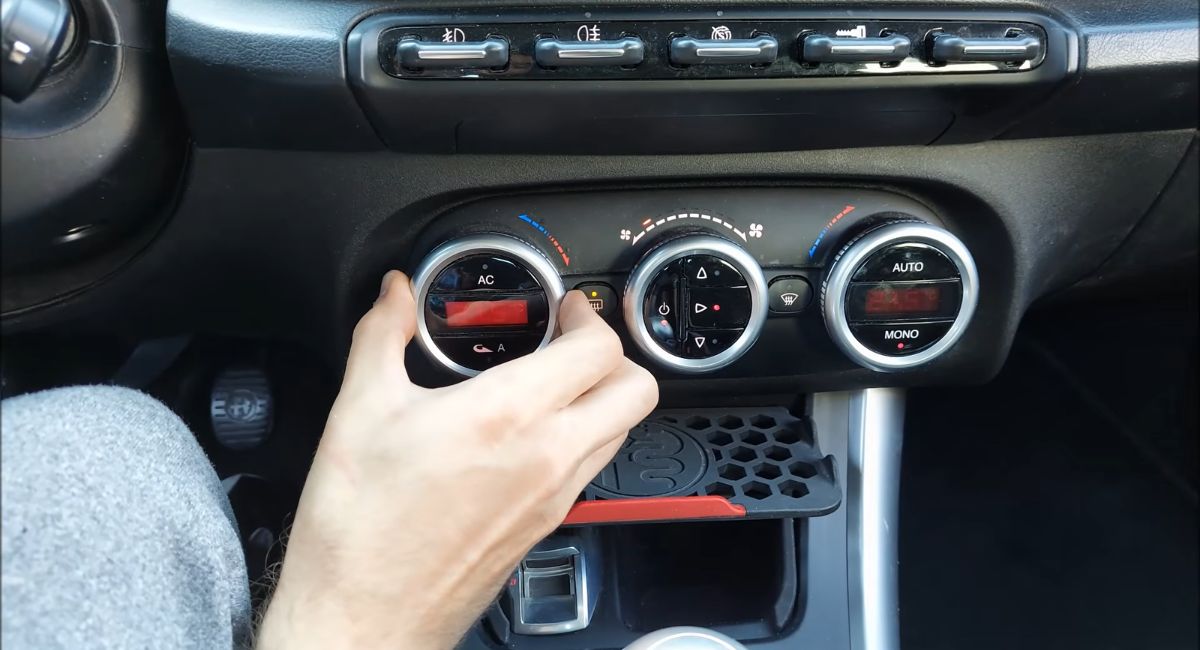
Listen for repeated clicking and verify that each side responds consistently.
Pay particular attention to windshield demisting. A heater problem that compromises visibility needs immediate attention.
Rear-window visibility deserves the same attention, especially if you’re also dealing with damaged heating lines. Our guide to repairing a rear window defroster explains how to diagnose and fix those faults.
Our rule is to diagnose the actuator, linkage, and flap as a complete mechanism. A new motor cannot repair a broken shaft, and calibration cannot restore a physically damaged door.
Half a cold cabin is annoying enough. Paying twice for the same repair is worse.